

Forces are fun
View Sequence overviewStudents will:
- define push and pull forces.
- identify and describe push and pull forces in everyday situations.
- explain how push and pull forces change the motion or form of objects, including identifying the object being moved, the object moving it and the type of force moving it (a push or a pull).
Students will represent their understanding as they:
- describe the different ways objects can move.
- identify the cause of motion as push and pull forces.
- share their ideas during class discussions.
In this lesson, assessment is formative.
Feedback might focus on:
- students’ understanding of pushing and pulling. Do they characterise pushing as moving things further away and pulling as bringing things closer?
- students’ understanding that pushes and pulls happen between two or more objects. Can they identify the objects involved in pushes and pulls? Can they identify which object is exerting force on the other?
Whole class
Class science journal (digital or hard-copy)
Access to an area containing everyday equipment that students can move using push and pull forces. This might be the classroom, a playground/equipment area or similar. Ensure there is a variety of objects that can be pushed and or pulled for students to identify.
Each group
Optional: Sticky notes
Optional: Pencils
Optional: Device for taking photos
Each student
Optional: Individual science journal (digital or hard-copy)
Lesson
The Inquire phase allows students to cycle progressively and with increasing complexity through the key science ideas related to the core concepts. Each Inquire cycle is divided into three teaching and learning routines that allow students to systematically build their knowledge and skills in science and incorporate this into their current understanding of the world.
When designing a teaching sequence, it is important to consider the knowledge and skills that students will need in the final Act phase. Consider what the students already know and identify the steps that need to be taken to reach the level required. How could you facilitate students’ understanding at each step? What investigations could be designed to build the skills at each step?
Read more about using the LIA FrameworkRe-orient
Discuss the activities that students participated in during the previous lesson, using the annotated photos/drawings from the lesson as prompts.
Discuss which activities students enjoyed the most and why, and which they found the most challenging and why.
The Inquire phase allows students to cycle progressively and with increasing complexity through the key science ideas related to the core concepts. Each Inquire cycle is divided into three teaching and learning routines that allow students to systematically build their knowledge and skills in science and incorporate this into their current understanding of the world.
When designing a teaching sequence, it is important to consider the knowledge and skills that students will need in the final Act phase. Consider what the students already know and identify the steps that need to be taken to reach the level required. How could you facilitate students’ understanding at each step? What investigations could be designed to build the skills at each step?
Read more about using the LIA FrameworkIdentifying and constructing questions is the creative driver of the inquiry process. It allows students to explore what they know and how they know it. During the Inquire phase of the LIA Framework, the Question routine allows for past activities to be reviewed and to set the scene for the investigation that students will undertake. The use of effective questioning techniques can influence students’ view and interpretation of upcoming content, open them to exploration and link to their current interests and science capital.
When designing a teaching sequence, it is important to spend some time considering the mindset of students at the start of each Inquire phase. What do you want students to be thinking about, what do they already know and what is the best way for them to approach the task? What might tap into their curiosity?
Read more about using the LIA FrameworkWhat are pushes and pulls?
Display the words “push” and “pull”. Using the think-pair-share strategy, record what students think they already know about the terms.
If required, demonstrate (but do not define) pushes and pulls, and prompt students to enact the actions: Imagine there was something in front of you that you want to push away, or something that you wanted to pull closer.
Pose the questions: What does a push do? What does a pull do?
Think-pair-share
What is think-pair-share and how might it benefit students?
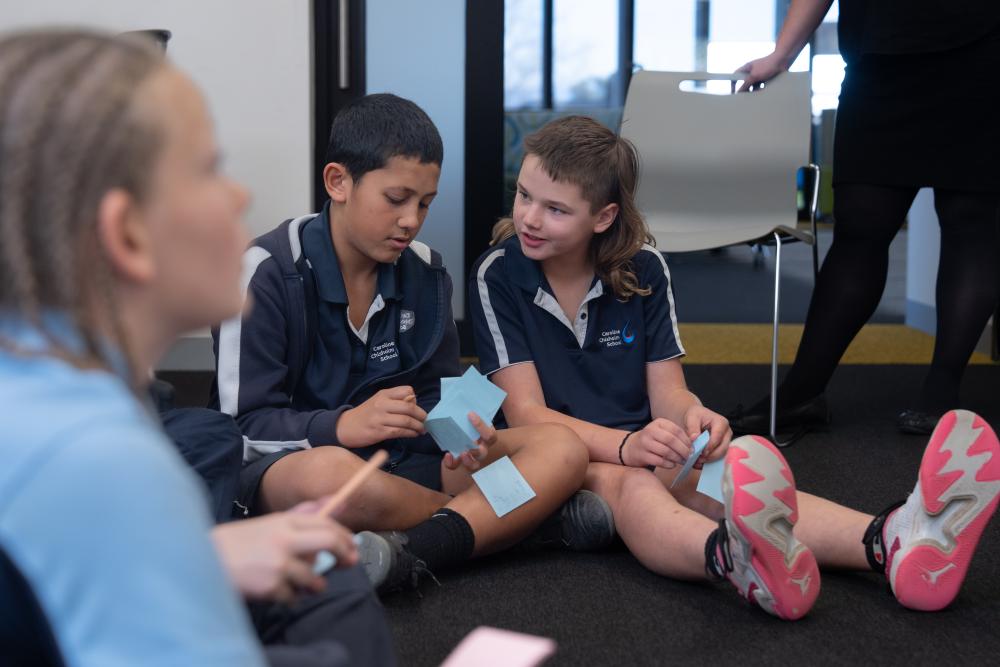
Within a classroom there are often students who raise their hands and offer ideas readily, as well as those who are less confident to share their ideas. The think-pair-share strategy can encourage more students to get involved because it allows thinking time and removes fear of being wrong, as students can offer ideas they have agreed upon with their partner.
In the strategy:
- Students are prompted with a question, topic, claim or idea.
- They are given time to think, typically between 10 and 20 seconds. The time can be extended for complex questions or topics.
- Students pair up with someone near them to discuss their answers and ideas.
- Invite students to share with the class, starting with “(Student's name) and I discussed/thought/talked about...”
You can also add the step “square” where pairs team up with another pair to discuss further before sharing. This can be helpful to expose students to a wider range of ideas and vocabulary.
Within a classroom there are often students who raise their hands and offer ideas readily, as well as those who are less confident to share their ideas. The think-pair-share strategy can encourage more students to get involved because it allows thinking time and removes fear of being wrong, as students can offer ideas they have agreed upon with their partner.
In the strategy:
- Students are prompted with a question, topic, claim or idea.
- They are given time to think, typically between 10 and 20 seconds. The time can be extended for complex questions or topics.
- Students pair up with someone near them to discuss their answers and ideas.
- Invite students to share with the class, starting with “(Student's name) and I discussed/thought/talked about...”
You can also add the step “square” where pairs team up with another pair to discuss further before sharing. This can be helpful to expose students to a wider range of ideas and vocabulary.
Push and pull forces
What are push and pull forces?
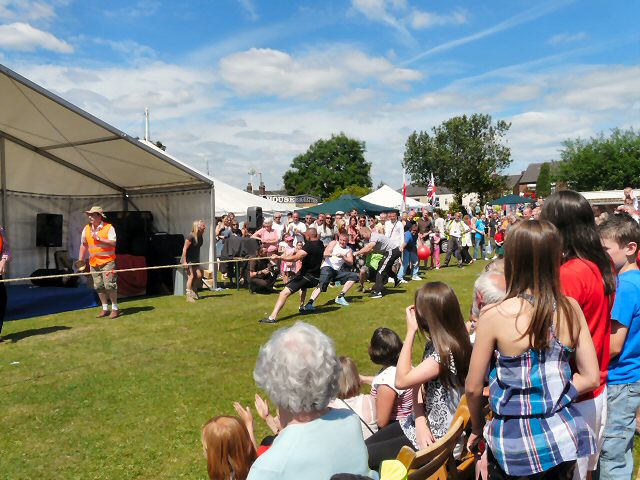
Forces can change the way things move. Forces can make stationary objects move and moving objects speed up, slow down or stop. Forces can change the direction an object is moving and can even change its shape. It is not possible to “see” a force—it is only possible to feel or observe its effects.
Examples of forces include applied forces such as pushes (which often move an object further away) and pulls (which often move an object closer). Other examples are friction, gravity and magnetism. A force can be applied to an object but is not a property of the object itself.
Put simply (and as a handy rhyme):
Forces move things in their way:
They can also make them stay
Speed them up or make them slow
Forces change the way things go.
Forces also make things change:
Make them bend or break or twist,
Make their shapes look really strange
Stretch them out or squash them—squish!
Forces can act through direct contact (physical pushes and pulls, friction, and air/water resistance) or through non-contact (magnetism and gravity).
Forces can be described using magnitude and direction. The magnitude of the force refers to the size or amount of force exerted, for example, a strong or a weak kick (push force) to a soccer ball. The direction of a force is represented with an arrow.
Forces can change the way things move. Forces can make stationary objects move and moving objects speed up, slow down or stop. Forces can change the direction an object is moving and can even change its shape. It is not possible to “see” a force—it is only possible to feel or observe its effects.
Examples of forces include applied forces such as pushes (which often move an object further away) and pulls (which often move an object closer). Other examples are friction, gravity and magnetism. A force can be applied to an object but is not a property of the object itself.
Put simply (and as a handy rhyme):
Forces move things in their way:
They can also make them stay
Speed them up or make them slow
Forces change the way things go.
Forces also make things change:
Make them bend or break or twist,
Make their shapes look really strange
Stretch them out or squash them—squish!
Forces can act through direct contact (physical pushes and pulls, friction, and air/water resistance) or through non-contact (magnetism and gravity).
Forces can be described using magnitude and direction. The magnitude of the force refers to the size or amount of force exerted, for example, a strong or a weak kick (push force) to a soccer ball. The direction of a force is represented with an arrow.
The Inquire phase allows students to cycle progressively and with increasing complexity through the key science ideas related to the core concepts. Each Inquire cycle is divided into three teaching and learning routines that allow students to systematically build their knowledge and skills in science and incorporate this into their current understanding of the world.
When designing a teaching sequence, it is important to consider the knowledge and skills that students will need in the final Act phase. Consider what the students already know and identify the steps that need to be taken to reach the level required. How could you facilitate students’ understanding at each step? What investigations could be designed to build the skills at each step?
Read more about using the LIA FrameworkThe Investigate routine provides students with an opportunity to explore the key ideas of science, to plan and conduct an investigation, and to gather and record data. The investigations are designed to systematically develop content knowledge and skills through increasingly complex processes of structured inquiry, guided inquiry and open inquiry approaches. Students are encouraged to process data to identify trends and patterns and link them to the real-world context of the teaching sequence.
When designing a teaching sequence, consider the diagnostic assessment (Launch phase) that identified the alternative conceptions that students held. Are there activities that challenge these ideas and provide openings for discussion? What content knowledge and skills do students need to be able to complete the final (Act phase) task? How could you systematically build these through the investigation routines? Are there opportunities to build students’ understanding and skills in the science inquiry processes through the successive investigations?
Read more about using the LIA FrameworkPush and pull hunt
With a partner, students undertake a push and pull search around the classroom and/or playground.
This can be undertaken in any number of ways.
- Teams might use sticky notes to “mark” objects that move with a push or pull, or both, writing the appropriate term on each sticky note.
- Examples could include: pulling tubs outwards, pulling and pushing a door open or closed, pushing books across a table, pushing a window outwards to open it, pulling on a jumper.
- Teams might take photographs of the objects to annotate and share later during class or small group discussions.
- Working with a partner, students might list objects that move with a push, a pull or both in their individual science journals. These can then be shared with other teams as part of a “give one, get one” activity.
“Give one, get one” strategy
What is the “give one, get one” strategy and how might it benefit students?
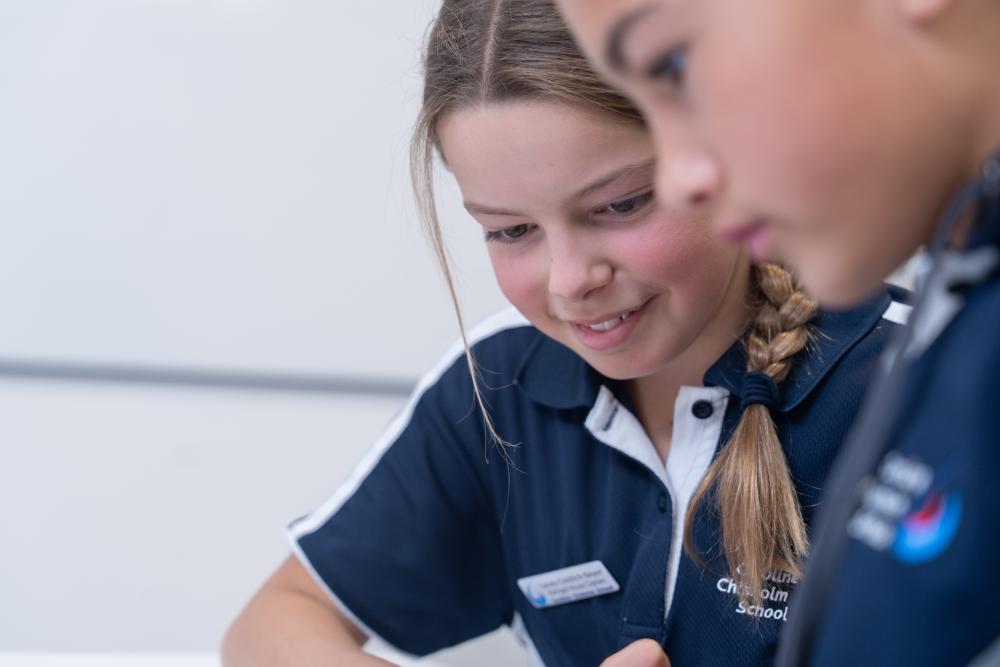
The “give one, get one” strategy exposes students to different ideas and ways of thinking, as well as identifying common ideas that exist across students.
In the strategy:
- Students, independently or with a partner, brainstorm a list of ideas in answer to a prompt.
- They make contact with another student/team and “give one” of their ideas. If the students/team does not already have this idea on their list they add it to a “get one” column. If they do have that idea they place a tick or other mark next to it to indicate that another team shared their thinking.
- The team continues to “give” ideas until they find a new idea the other team did not have, or their list is exhausted.
- The other team then repeats this process, “giving one” new idea to the other team.
- When teams part, they should have “given one” new idea to the other team, and “gotten one” in return.
- Find a new team and repeat the process as appropriate.
A cumulative class list of ideas can then be created, with the most commonly occurring responses shared first, thus identifying ideas that many students shared.
The “give one, get one” strategy exposes students to different ideas and ways of thinking, as well as identifying common ideas that exist across students.
In the strategy:
- Students, independently or with a partner, brainstorm a list of ideas in answer to a prompt.
- They make contact with another student/team and “give one” of their ideas. If the students/team does not already have this idea on their list they add it to a “get one” column. If they do have that idea they place a tick or other mark next to it to indicate that another team shared their thinking.
- The team continues to “give” ideas until they find a new idea the other team did not have, or their list is exhausted.
- The other team then repeats this process, “giving one” new idea to the other team.
- When teams part, they should have “given one” new idea to the other team, and “gotten one” in return.
- Find a new team and repeat the process as appropriate.
A cumulative class list of ideas can then be created, with the most commonly occurring responses shared first, thus identifying ideas that many students shared.
The Inquire phase allows students to cycle progressively and with increasing complexity through the key science ideas related to the core concepts. Each Inquire cycle is divided into three teaching and learning routines that allow students to systematically build their knowledge and skills in science and incorporate this into their current understanding of the world.
When designing a teaching sequence, it is important to consider the knowledge and skills that students will need in the final Act phase. Consider what the students already know and identify the steps that need to be taken to reach the level required. How could you facilitate students’ understanding at each step? What investigations could be designed to build the skills at each step?
Read more about using the LIA FrameworkFollowing an investigation, the Integrate routine provides time and space for data to be evaluated and insights to be synthesized. It reveals new insights, consolidates and refines representations, generalises context and broadens students’ perspectives. It allows student thinking to become visible and opens formative feedback opportunities. It may also lead to further questions being asked, allowing the Inquire phase to start again.
When designing a teaching sequence, consider the diagnostic assessment that was undertaken during the Launch phase. Consider if alternative conceptions could be used as a jumping off point to discussions. How could students represent their learning in a way that would support formative feedback opportunities? Could small summative assessment occur at different stages in the teaching sequence?
Read more about using the LIA FrameworkDefining push and pull
In the following Integrate routine, students are guided to link their experiences with identifying pushes and pulls with the science concepts being explored, that is, determining what push and pull forces are. Through questioning and discussion, students should come to a consensus that:
|
Review the objects that students identified as moving as a result of a push, pull or both, creating a record for the class science journal.
Draw students’ attention to some of the identified examples. Ask them to name:
- the two objects involved.
- which object is doing the pushing/pulling.
- which object is being acted on.
For example, students might say that they can push and pull their tubs. In that instance the student is pushing/pulling the tub, and the tub is moving (but the tub would not move on its own).
Discuss some examples where three things might move—for example, the students might push a door open, but the door might push on a bag that was left behind it. Or, students might pull on a string, and the string pulls a toy attached to it.
Review what students thought about pushes and pulls at the beginning of the lesson.
Display the phrases “comes closer” and “moves further away”, and ask students which term, “push” or “pull”, they would match the phrases with.
Introduce the definition of a push and a pull and determine if students agree with the definitions.
- A push is a movement that can cause an object to move further away from what pushed it.
- A pull is a movement that can cause an object to move closer to something.
Add the definitions to the class science journal and/or word wall. Ensure they are displayed prominently for students to refer to throughout the teaching sequence.
Reflect on the lesson
You might:
- review the images of activities students participated in last lesson and identify any items being pushed, and any items being pulled.
- add any other terms to the class word wall.
- review the definitions of push and pull.
Pushes and pulls act between two objects
Why is it important for students to recognise that pushes and pulls always act between objects?

Push and pull forces always act between two objects that are interacting with each other. A force is not something an object “has” on its own—it happens when one object interacts with another. For example, a hand pushes a ball, a magnet pulls a paperclip, or the Earth pulls objects downward due to gravity. Forces can be contact forces (where objects are touching) or non-contact forces (where objects act at a distance, such as gravity or magnetism). In this lesson, the focus is specifically on contact forces—forces that occur when objects are physically touching.
It is helpful to consistently reinforce the idea that every push or pull involves two objects: something doing the pushing or pulling, and something being pushed or pulled. Using clear language such as “The hand pushes the door” or “A string pulls an object” supports students in identifying both parts of the interaction. This builds precision in their thinking and prevents vague statements like “It pushed” without identifying what “it” is.
When a chain reaction occurs, students may think that everything is interacting all at once. It is important to slow the event down and help them identify each separate pair of interacting objects. For example, if a hand pushes a door and the door then rings a hanging bell over the door, there are two separate interactions. First, the hand pushes the door. Second, the door pushes (or pulls) on a mechanism that rings, the bell. The hand and the bell are not directly interacting because they are not in contact. Identifying each pair helps students understand that forces transfer through a sequence of interactions rather than skipping across objects.
In this lesson, the key teaching focus is helping students answer two questions clearly: What is doing the push or pull? and What is being pushed or pulled?
Push and pull forces always act between two objects that are interacting with each other. A force is not something an object “has” on its own—it happens when one object interacts with another. For example, a hand pushes a ball, a magnet pulls a paperclip, or the Earth pulls objects downward due to gravity. Forces can be contact forces (where objects are touching) or non-contact forces (where objects act at a distance, such as gravity or magnetism). In this lesson, the focus is specifically on contact forces—forces that occur when objects are physically touching.
It is helpful to consistently reinforce the idea that every push or pull involves two objects: something doing the pushing or pulling, and something being pushed or pulled. Using clear language such as “The hand pushes the door” or “A string pulls an object” supports students in identifying both parts of the interaction. This builds precision in their thinking and prevents vague statements like “It pushed” without identifying what “it” is.
When a chain reaction occurs, students may think that everything is interacting all at once. It is important to slow the event down and help them identify each separate pair of interacting objects. For example, if a hand pushes a door and the door then rings a hanging bell over the door, there are two separate interactions. First, the hand pushes the door. Second, the door pushes (or pulls) on a mechanism that rings, the bell. The hand and the bell are not directly interacting because they are not in contact. Identifying each pair helps students understand that forces transfer through a sequence of interactions rather than skipping across objects.
In this lesson, the key teaching focus is helping students answer two questions clearly: What is doing the push or pull? and What is being pushed or pulled?