'Circuit breakers' IS ONE OF OUR NEW TEACHING SEQUENCES FOR V9
- On the 'Sequence overview' tab you'll find all the lessons in this sequence and curriculum alignment.
- The 'Our design decisions' tab shows how key scientific ideas develop over the sequence, and shows how the sequence addresses curriculum achievement standards.
- The 'Preparing for this sequence' tab guides you through important information and considerations for this sequence.
- Have you taught this sequence? Use the Feedback button to let us know how it went!
Launch
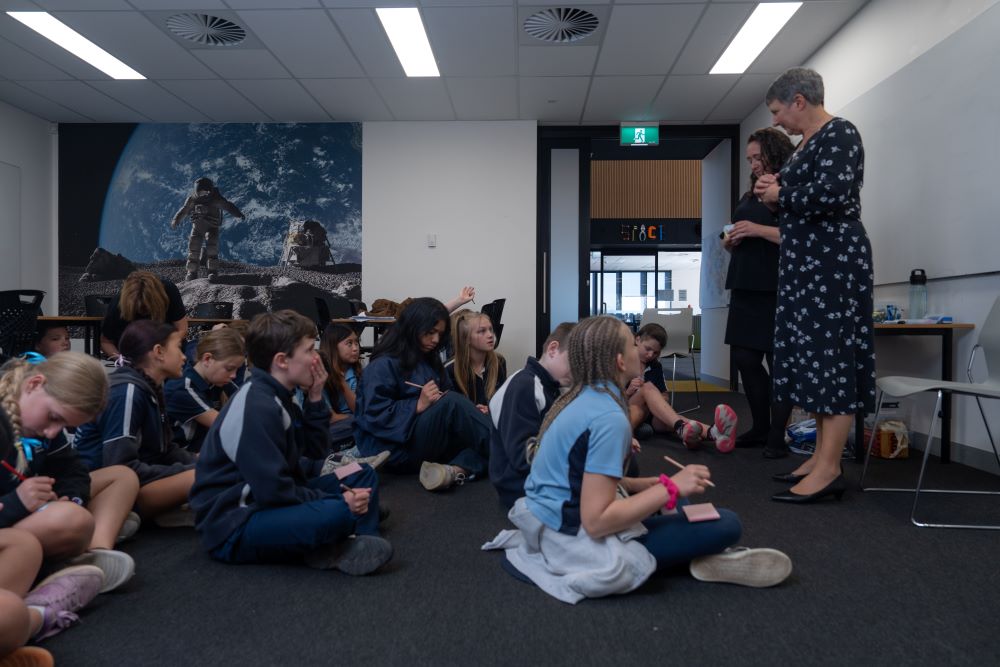
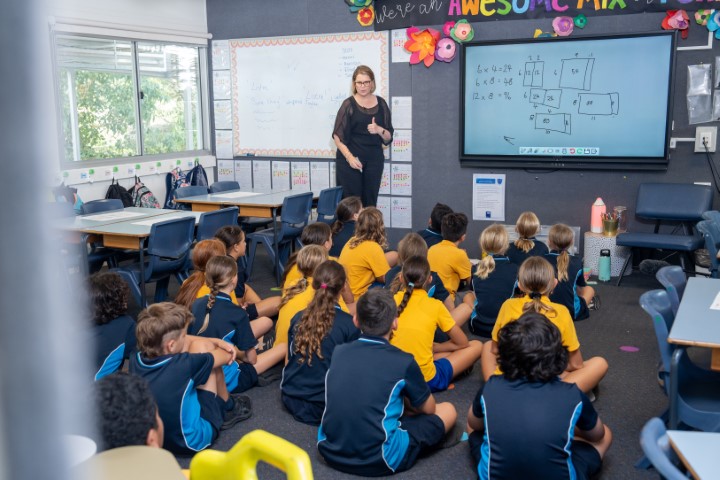
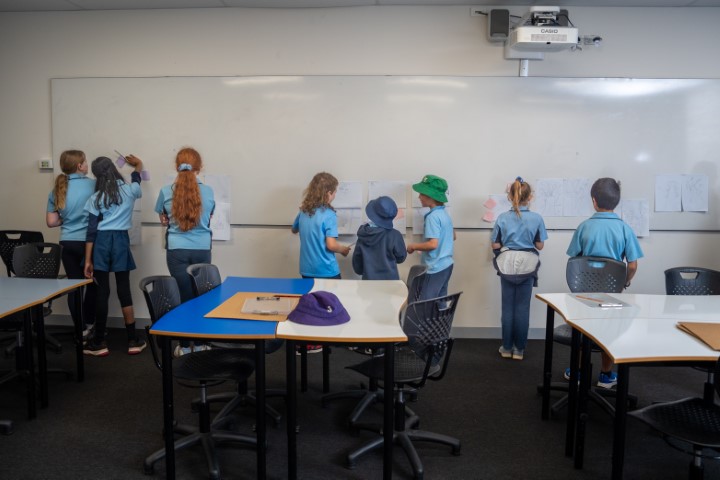
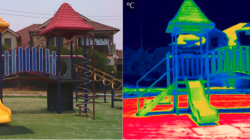
Lesson 1 • Blackouts
Students identify and empathise with people affected by blackouts caused by interruptions in electrical circuits.
Inquire
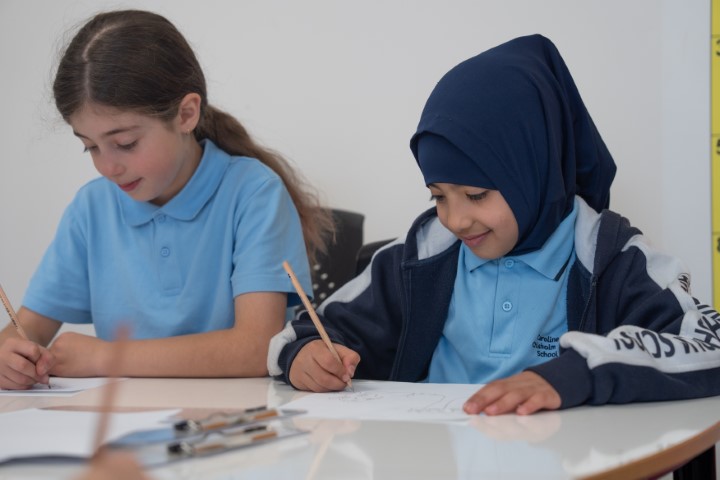
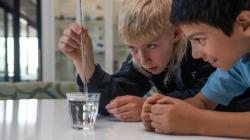
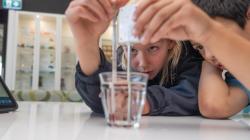
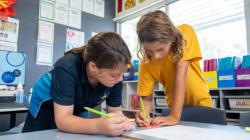
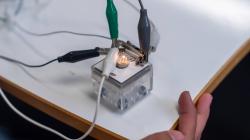
Lesson 2 • Making a torch
Students explore and identify the necessary components of an electric circuit. They represent their circuits using accepted circuit symbol conventions.
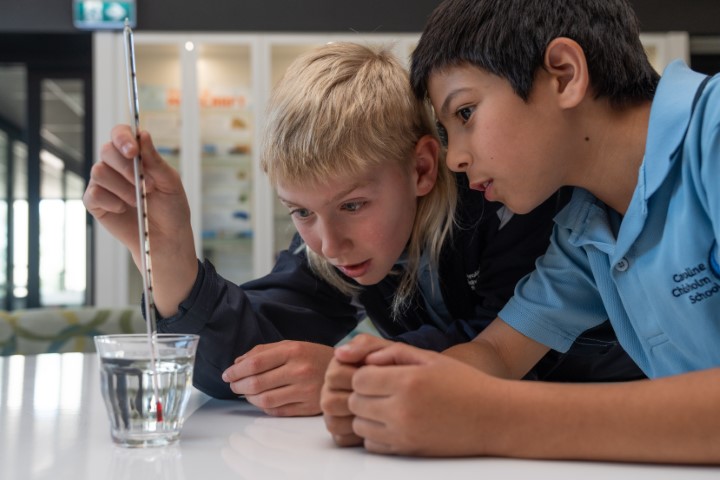
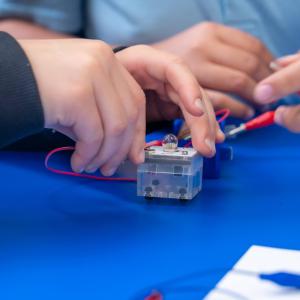
Lesson 3 • Modelling electrical circuits
Students use and develop their own models and representations to explore how current moves around an electrical circuit.
Lesson 4 • Causing a blackout
Students pose a question that can be investigated, make reasoned predictions, and plan and conduct an investigation into the factors that affect the transfer and transformation of energy in an electrical circuit.
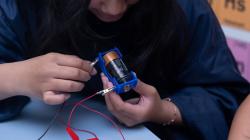
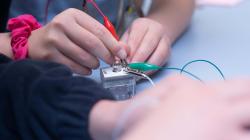
Lesson 5 • Conductors and insulators
Students pose an investigable question and plan and conduct an investigation to identify the best material for a conductor in an electric circuit.
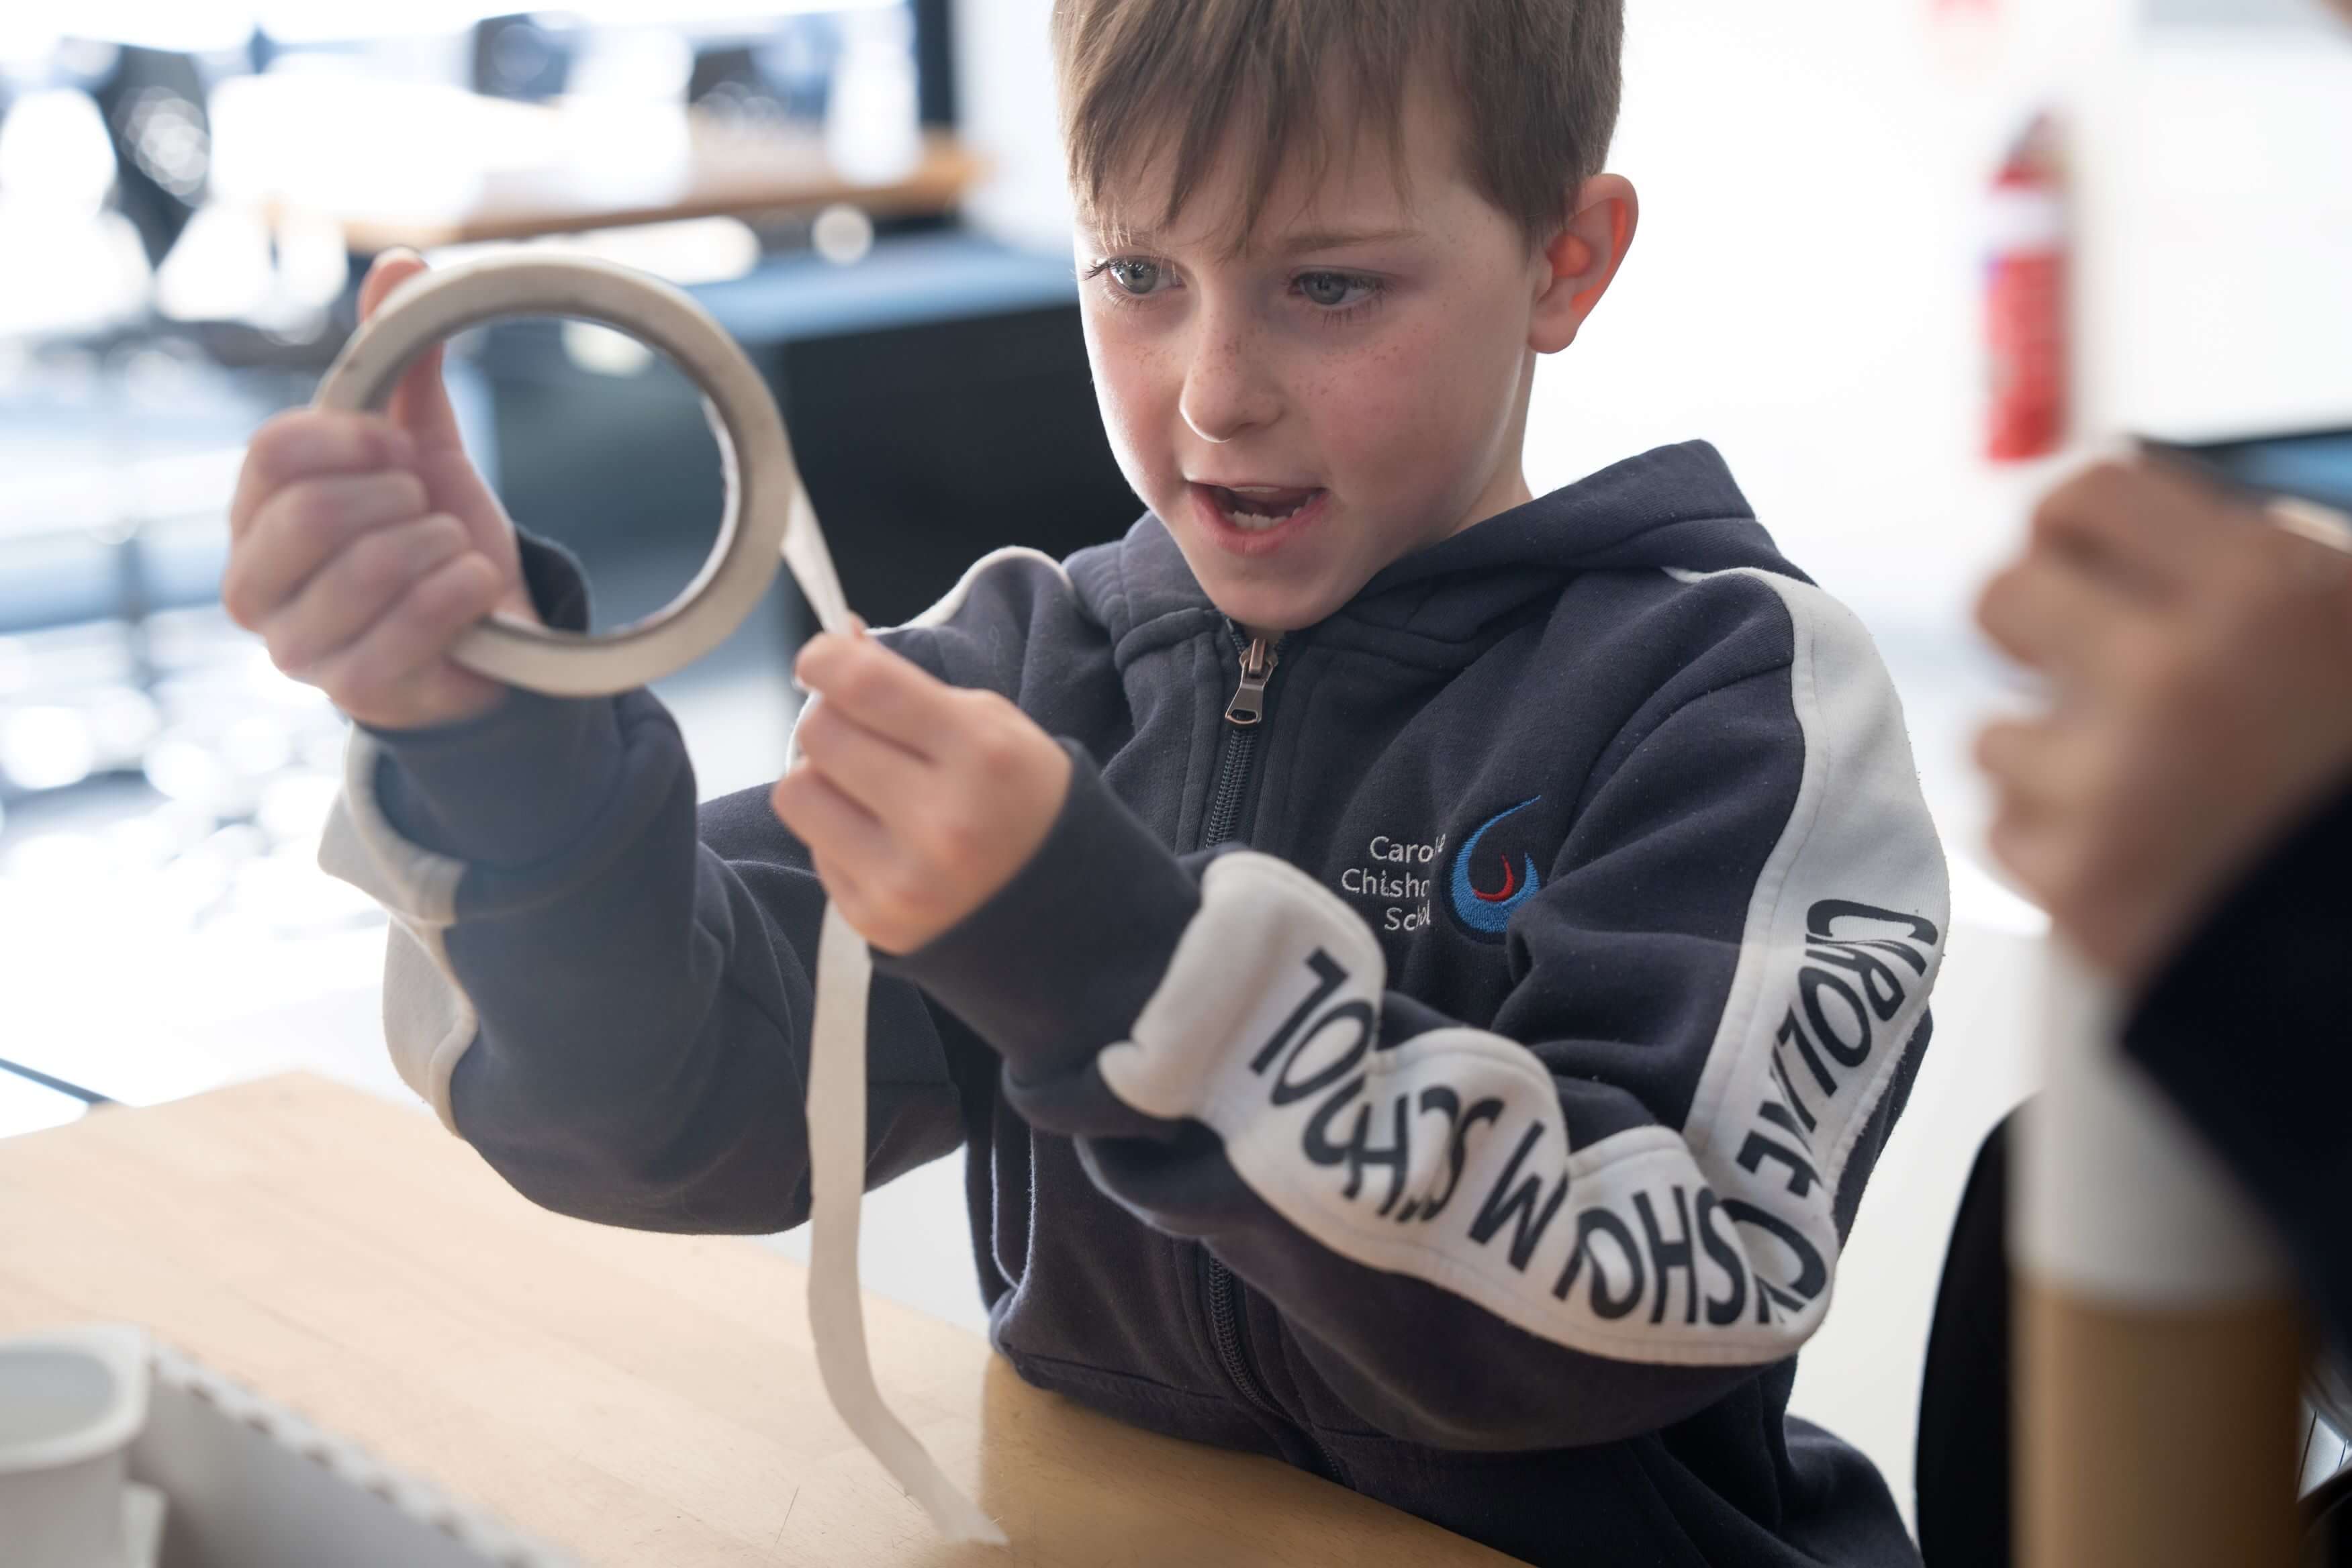
Lesson 6 • Making a switch
Students examine the purpose of a switch and develop criteria to evaluate a switch design.
Act
Lesson 7 • Designing for blackouts
Students design an electrical product that can be used to support people during a blackout, and communicate their design ideas to a selected audience.

Curriculum and syllabus alignment
Achievement standards
Students identify the role of circuit components in the transfer and transformation of electrical energy. They describe how individuals and communities use scientific knowledge.
Students plan safe, repeatable investigations to identify patterns and test relationships and make reasoned predictions. They describe risks associated with investigations and key intercultural considerations when planning field work. They identify variables to be changed, measured and controlled. They use equipment to generate and record data with appropriate precision. They construct representations to organise and process data and information and describe patterns, trends and relationships. They identify possible sources of error in their own and others’ methods and findings, pose questions for further investigation and select evidence to support reasoned conclusions. They select and use language features effectively for their purpose and audience when communicating their ideas and findings.
Australian Curriculum V9 alignment
Science as a human endeavour
Investigate how scientific knowledge is used by individuals and communities to identify problems, consider responses and make decisions
Science understanding
Investigate the transfer and transformation of energy in electrical circuits, including the role of circuit components, insulators and conductors
Science inquiry
Pose investigable questions to identify patterns and test relationships and make reasoned predictions
Plan and conduct repeatable investigations to answer questions including, as appropriate, deciding the variables to be changed, measured and controlled in fair tests; describing potential risks; planning for the safe use of equipment and materials; and identifying required permissions to conduct investigations on Country/Place
Use equipment to observe, measure and record data with reasonable precision, using digital tools as appropriate
Construct and use appropriate representations, including tables, graphs and visual or physical models, to organise and process data and information and describe patterns, trends and relationships
Compare methods and findings with those of others, recognise possible sources of error, pose questions for further investigation and select evidence to draw reasoned conclusions
Write and create texts to communicate ideas and findings for specific purposes and audiences, including selection of language features, using digital tools as appropriate
Australian Curriculum content links
| Science understanding core concept: Energy, specifically electrical energy, can be transferred and transformed. |
| Sub-strand | Content descriptor | AC code | Achievement Standard | How the sequence addresses this content |
| SHE: Use and influence of science | Investigate how scientific knowledge is used by individuals and communities to identify problems, consider responses and make decisions. | AC9S6H02 | Describe how individuals and communities use scientific knowledge. | Design an electrical device that could be used in a blackout. (Lesson 7) |
| SU: Physical Sciences | Investigate the transfer and transformation of energy in electrical circuits, including the role of circuit components, insulators and conductors. | AC9S6U03 | Identify the role of circuit components in the transfer and transformation of electrical energy. | Use scientific explanations, supported by data, to describe the equipment used and the transfer and transformation of electrical energy in a circuit. (Lessons 2, 3, 4, 5, 6) |
| SI: Questioning and predicting | Pose investigable questions to identify patterns and test relationships and make reasoned predictions. | AC9S6I01 | Describe how individuals and communities use scientific knowledge. | Pose investigable questions to identify patterns, such as: ‘what type of material is the best conductor and what is the best insulator?’ (Lesson 5) |
| SI: Planning and conducting | Plan and conduct repeatable investigations to answer questions including, as appropriate, deciding the variables to be changed, measured and controlled in fair tests; describing potential risks; planning for the safe use of equipment and materials; and identifying required permissions to conduct investigations on Country/Place. | AC9S6I02 | Identify risks associated with investigations and key intercultural considerations when planning field work. Identify variables to be changed, measured and controlled. | Determine which is the variable being tested and which variable is being measured, and which other variables might affect their investigations and need to be kept the same. (Lessons 4, 5) |
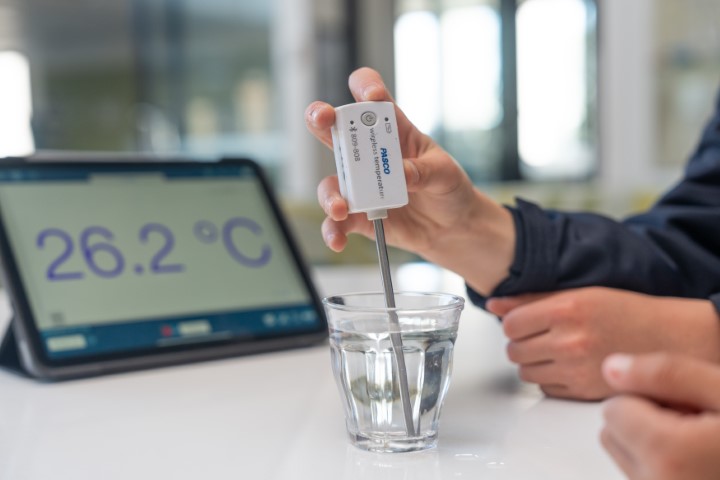
| SI: Planning and Conducting | Use equipment to observe, measure and record data with reasonable precision, using digital tools as appropriate. | AC9S6I03 | Use equipment to generate and record data with appropriate precision. | Select and use instruments with the correct scale for measuring data with appropriate accuracy, such as a light meter or multi-meter (high tech option). (Lessons 4, 5) |
| SI: Processing, modelling and analysing | Construct and use appropriate representations, including tables, graphs and visual or physical models, to organise and process data and information and describe patterns, trends and relationships. | AC9S6I04 | Construct representations to organise and process data and information and describe patterns, trends and relationships. | Organise information in graphic organisers to describe patterns and trends. (Lessons 5, 6) Represent circuits using circuit diagrams and indicating the direction of electricity flow. (Lessons 2, 3) |
| SI: Evaluating | Compare methods and findings with those of others, recognise possible sources of error, pose questions for further investigation and select evidence to draw reasoned conclusions. | AC9S6I05 | Identify possible sources of error in their own and others’ methods and findings, pose questions for further investigation and select evidence to support reasoned conclusions. | Work collaboratively to identify the strengths and weaknesses of their own and others’ investigations including where testing was not fair, and practices could be improved. (Lessons 4, 5) |
| SI: Communicating | Write and create texts to communicate ideas and findings for specific purposes and audiences, including selection of language features, using digital tools as appropriate. | AC9S6I06 | Use language features that reflect their purpose and audience when communicating their ideas and findings. | Design a product that uses electrical circuits and presenting their product to an appropriate audience. (Lesson 7) |
Science journals
Create a class science journal, either in hard-copy or digitally. You might:
- use/create a large scrap book or flip chart.
- use poster/butchers’ paper so learning can be displayed in sequence on the wall.
- create a digital journal using your platform/ technology of choice.
- or any combination of the above.
Plan for students’ creation of an individual science journal, either in hard-copy or digitally. They might:
- use an exercise book, scrap book or flip chart to record their thinking and gather resource sheets together.
- use a folder to store and collate resource sheets, diagrams, photographs etc.
- use a digital folder to store work samples, images and videos.
- or any combination of the above.
See Using a science journal throughout inquiry for more detailed information on the importance of science journals.
Additional preparation
- Read through the teaching sequence.
- Note any adaptations you would like to make to suit your schools’ and students’ context.
- The equipment list contains the maximum number of each piece of equipment that will be required across the teaching sequence. Some lessons may not need the full number that is listed.
The materials required for each lesson are listed on the lesson's page. For the full sequence resource list, download the Preparing to teach this sequence document below.

'Circuit breakers' IS ONE OF OUR NEW TEACHING SEQUENCES FOR V9
- On the 'Sequence overview' tab you'll find all the lessons in this sequence and curriculum alignment.
- The 'Our design decisions' tab shows how key scientific ideas develop over the sequence, and shows how the sequence addresses curriculum achievement standards.
- The 'Preparing for this sequence' tab guides you through important information and considerations for this sequence.
- Have you taught this sequence? Use the Feedback button to let us know how it went!